By Suzanne Kistler:
If you’re anything like me, you’ve got a pile of strips somewhere in your stash. They’re too narrow to sew, but they’re too good to throw away. Here’s an idea: fabric weaving.

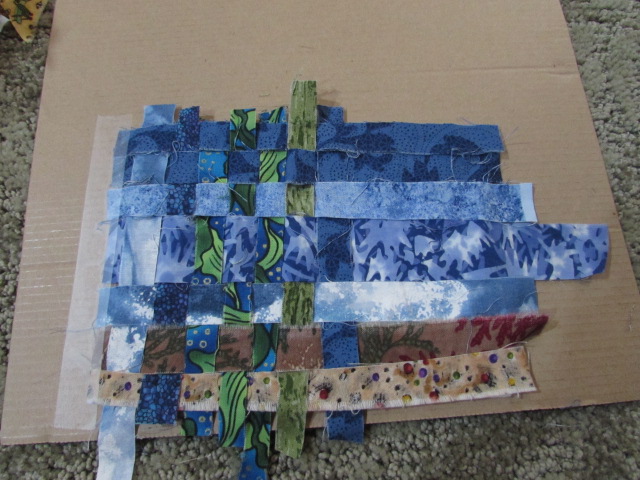
I start by selecting strips that play well together, place them on top of a pre-cut piece of batting, and tape the vertical strips along one side, to a piece of corrugated cardboard. Remember the construction paper weaving we did in first grade? It’s the same idea, only with fabric. Weave until the entire batting base is covered.
Gently remove the tape from the cardboard, and slide the weaving (with batting) under your presser foot. I use a walking foot, because of that layer of batting. Stitch in both directions (horizontal and vertical).

When the weaving is stabilized, turn it over and trim to desired size. For postcards, I trim to 4×6”.

This particular card was a bit larger than usual.

When the top has been trimmed to the desired size, you can either finish it off, or embellish as desired.

These were fused to a peltex base, a fabric back was added, and I zig-zagged around the edges. You can limit the color palette…
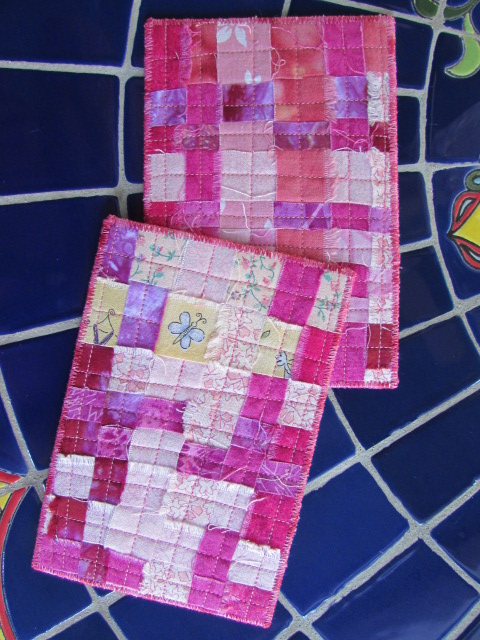
or make it as wild as you like.

But be warned. I didn’t think I’d be interested in fabric weaving for quilting projects and now I find myself quite enthralled.
Enjoy!
