This month we are visiting with Sue Andrus in Towanda, PA. She offers some inspiring photos of how one can organize a very small space.
Do you call it a studio or sewing room? To yourself, to friends and family? Why do you think this is so? Difference in starting point between quilting and art? Thinking of this as a business rather than a hobby?
I call my space a studio (or my cubicle because of the size), or to friends and family who might not understand what I do, I call it my sewing studio. I have been sewing and creating as a business since 1992 and have treated my business as seriously as any of the greenhouse businesses I have owned or worked for. My business started after I got hooked on making bed quilts and read a book about earning money from your crafts. My business changed and grew as I found that bed sized quilts didn’t sell well and I experimented with different ideas for wall pieces. Playing with fabric painting and fusing became more enjoyable than perfect piecing and gave me a way to bring my visions to life in fabric. Looking at what I do from a business aspect has affected my art in good and bad ways. Creating with the idea in the back of your head “will this sell, how can I create faster,” etc. gave me reasons to create and I believe has also caused creative blocks. I have rarely just created for the sheer joy of it. The only way I can afford to do my art is for it to pay for itself — every tool, machine, printer, etc. has had to pay it’s own way so to speak.
What do you have in the room? Machines, supplies, fabrics, paints, etc.? Anything that might surprise the rest of us?
I have all of the usual stuff in my studio, machine, iron and board, cutting table, shelves for fabric, drawers of various supplies, etc. My space is pretty small, so what is in the studio itself is now mostly just what is used in there. My studio or “cubicle” is one of two 7 ½ x11- foot rooms side by side added onto the back of our mobile home. The matching room began as an office but has been taken over by my studio overflow. That room is the “path” from our living room to my studio and our sun room/greenhouse, so it is mostly storage and a home for 2 of my 3 printers.
The tour begins at the doorway from the office area to my “cubicle.”

Walking in Door – East Wall
The above photo is the first view one sees when walking from the office to the studio door. At the left of the photo, you can see a sliver of the edge of the doorway. The cutting table sits blocking some of the doorway since every square inch is needed inside. To the right in the photo is the east-facing wall with a window. This first picture was taken before my laptop and one printer were added to the counter in front of the window. That counter was made for a second machine when I used my original Singer Touch ‘N Sew machines, and I could piece on one and quilt on the other (Neither machine could do the other process, so two machines were needed to do the job my one Janome does now.).
This photo below shows the view while standing in the doorway.

View from Door – to North Wall
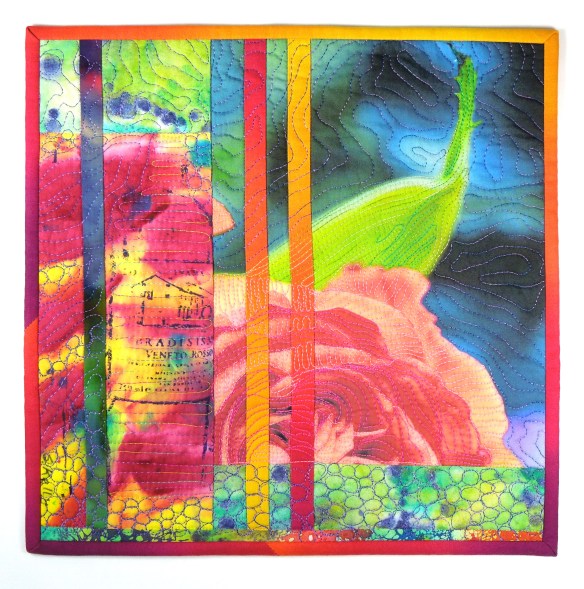
You can see the North facing wall which has my machine in front of the window with the ironing board beside it. You can see just a peek of one of my gardens through the window. The little quilt on the cutting table was made from a photo of that garden. I have lots of gardens — a bit of them later.
This photo below shows both sides of the doorway.

Studio Through the Doorway
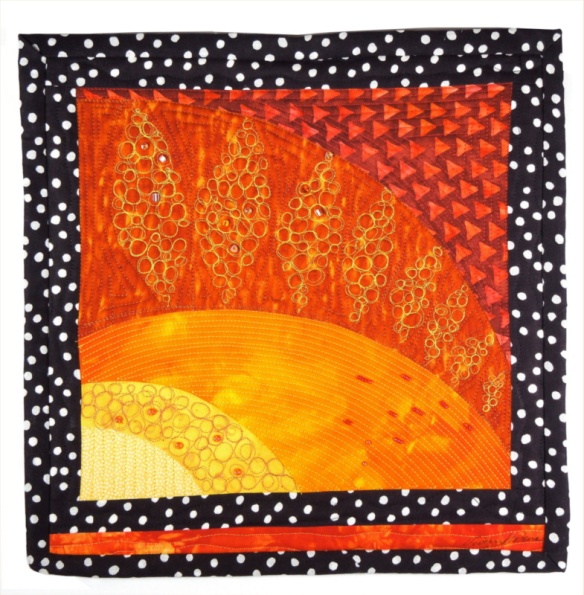
The orange journal quilt (left, lower front) is on the end of a big desk in the office that blocks part of the door as well as the cutting table. The cutting table is almost never empty like this. My photos for this tour were taken at different times so you will see the surfaces clear, buried and in between.
This is what the East Wall counter looks like most of the time.

East Wall Right
When I am in a creative groove, the laptop is here so that I can keep up with what’s going on online and work with photos that I want to use for printing onto fabric or whatever, right from my chair. The TV in the corner isn’t on too much, but lets me “watch” something while creating if I want. If I am “in the groove” I usually end up ignoring the thing.
How is your “stuff” organized? How do you organize your fabric? By color? Amount? Any separate categories (batiks, hand dyes)? How do you organize your thread (color, weight)?
Another view of the TV corner, showing some of my thread on a rack mounted to the wall.

Corner Between Windows
Often, much of the tread is in the top drawer of one of the pink units in the counter. I found that it is really easy to take a lot of my goodies to retreats or anywhere else to use if they are in the drawer units, so I started keeping things in them. When I get home it is really easy to just put the units back where they belong and things are put away really fast. The threads are easier to use from the rack, so if I am creating madly, the ones I am using most will be out where I can see them.
Here you see most of the North Wall with my machine and ironing board along the wall.

North Wall with Machine
Above the ironing board is a 1″ thick piece of foam covered with flannel that I use as an inspiration wall or just stick little things that I don’t want to lose.
Above the machine counter and ironing board is a shelf near the ceiling.

Studio Upper North Wall
There are shelves on all four walls so I can store things floor to ceiling. The ceiling is sloped, leaving not much room on the low end. This was taken after I had cleared the shelf during my latest reorganization. This shelf is too high to reach things easily, so I keep items up there that are used least.
While the East and West walls have counters and the ironing board along them, the other two walls have shelves from the floor to 6′ high.

Shelves at End of Ironing Board
This is the set at the end of the ironing board. I just reorganized so that things I use often are handy. Parchment and freezer paper, paper towels, stabilizers, pressing cloths and more are on the higher shelves, the lower two shelves now house my collection of Wonder-Under-backed fabrics. Larger pieces are either flat or folded on one shelf, while smaller bits are sorted by color in clear plastic containers.
This view shows just about the whole wall with the design wall on it.

Studio Design Wall End
I began with a piece of plywood on a piano hinge covered with flannel. There are shelves behind the design wall as well as the electrical panel for our whole home, so the design wall needed to be able to be swung out of the way. A couple of years ago I added the piece of 2″ thick blue insulation foam covered with batting for an easier use of the design wall. The foam just leans against the wall. You can see peeks of the shelves on either side of the design wall.
After seeing one of the first studio tours here on this blog, I used the idea to put my ironing board on a set of shelves. My former set up was too rickety.

New Ironing Board Shelves
I now have a good place to keep my paper cutters, die cutter, dies and other things that get used on or near here. The dies for my Big Shot die cutter are in clear plastic containers that keep them together and easy to grab. The paper cutters were always in the way because they get used a lot, but didn’t have a good home — now it is easy to pull one out, use it and put it back (most of the time).
Here is one of the major problems I have with such a small space that includes the electrical panel behind two design walls:

Design Wall Moved
This is what greeted me one morning after my hubby tripped a breaker, had to move the foam wall to get to the breaker and he didn’t replace the foam wall where it belongs when he was done. This also shows the narrow space between the cutting table and the sewing machine counter and ironing board.
This is one of my newest great things:

Tub on Wheels
I have had this tub of stuff sitting on the floor between the cutting table and design wall. It was a pain to have to move it with the pile of stuff that collects on top, so I had my hubby put wheels on a piece of plywood — now things can be moved easier. The cutting table is also on wheels so I can access the shelves behind it.
This photo shows my fabric shelves before my latest cleaning and organizing. I removed everything from the shelves and sold a lot of the commercial fabrics I wasn’t using. In the past, the pot my son made in art class full of pencils, pens, scissors and other goodies sat on the table with other things.

Studio Shelves Cluttered
Here is the result of that reorganization:

Neat fabric Shelves
All of my painted and dyed fabrics are organized by color family and I left a few shelves near the doorway for the pot of goodies, some paints, mediums, and other things that used to clutter the table. Much nicer to be able to use the whole table surface. (This was taken while I was still organizing other areas of the studio.) The shelves are my favorite thing in the studio — I designed them to fit my fabric the way I fold it and told my hubby to make it the way I wanted it, not the way he thought I would like it. He did only a minor modification to make construction easier and rounded all the edges. They are beautiful! Too bad half of them are hidden the by design wall. They are even made so that they can be moved if I should ever get my dream studio.
Not the prettiest photo, but it shows more of the plastic drawer units I use.

View From Design Wall Toward East Wall
I have a number of these under counters, desks, and wherever there is room for them. Every inch of space is used. You can also see the space available for my chair — just enough room to sit between the cutting table and machine. I can easily roll to the laptop The floor tiles were supposedly commercial-grade tiles, but they must have been a bad batch because the chair has worn a lot of the top surface off of them so the floor looks icky even when clean.
Here is another view taken from the area by the ironing board looking toward the door and out to the office.

Studio & Office
The large desk in the office has more drawer units on top and under. Here you can see my other thread rack and the shelf over the east window that houses my books. On the other end are my stock of mats, backer boards, and archival bags that I use for packaging little quilts and reproduction prints.
Do you have anything, supplies, more machines, etc. tucked away in any other rooms of the house? How many other rooms? (My husband likes to talk about that one.) Has a family member or significant other ever accused you of “taking over” the entire house? If you have a separate building, we want lots of pictures.
Ha! My hubby is always complaining about my “junk” that is stored in many other rooms. The office is mine, drawer units are in the living room, kitchen, and, in the summer, even outdoors.
Another view of the drawer units on top of and under the big office desk.

Office Drawers
The bottom unit has the most-used supplies in it: marking pencils, glues, fusibles, extra scissors, colored pencils, pastels, some paints, cutters and more. This unit is another that travels a lot for retreats so storing things together make packing and put-away work easy!
Here are my two other printers on a table along one wall of the office.

Office Printers
I used to have a desktop computer here, but it was a real pain since it is at the bottom of the steps from the living room and I was always in the way when someone wanted to walk through to the greenhouse. Now I have long cables to attach them to my laptop. Lately, I have been vegging on the couch in the living room, and a cable easily reaches from there to print things on either printer. The printers are all Epson and use the DuraBright inks so I can print on fabric with any of them. The wide one is the newest — I can now print on 13″-wide fabric!
More drawer units that are in the doorway to the living room.

Fabric on Hangers and livingroom Storage
Between the white shelves and the stacked drawers in the living room is a wall-mounted rack where I hang most of my sunprinted fat quarters on skirt hangers. I only need to fold them in half and can stack the hangers on each other. The large drawer units have my inventory of items listed for sale in my shops online. Shipping boxes and envelopes are also stored between drawer units.
With limited space, I don’t do large bed-size quilts any more.

Kitchen Quilting Set-up
This is the last one I intend to ever make and quilt myself — a queen-sized one for my bed. I finally have one of my own quilts on my bed! I began this at a retreat where I had use of many large tables, but I had to finish the quilting at home. My quilting surface is a 4′-long folding table my hubby put formica on — it sits next to our kitchen table. It is definitely NOT an ideal set up. The kitchen table is round (with the same blue marble formica on it) and the quilt kept getting caught between the tables. When I quilted it, no one could walk through the kitchen since I hogged most of the space. The kitchen is also where most of my painting and dyeing supplies are stored. The washer and dryer are next to the table, and I have two more large drawer units stacked against the wall. There is also a big shelf over the washer and dryer that more things are stored on. Paper-making supplies are also in the kitchen. I often work on art cards or collage-type things at the kitchen table. Thankfully, my sons are all grown and no longer live here — more room for me to work.
Do you straighten/organize as you go, putting each fabric away as you cut, or do you clean up after a project? How many projects do you work on at a time and how do you keep them organized?
I am one of those people who have things scattered all over while working. I am trying to learn to organize and put things back, but it doesn’t usually happen. I need to see my “stuff” to know what is available to create with. I also tend to work on more than one project at a time when I get in a creative groove. I have been battling a horrid creative funk, but then the creativity returns, the ideas flow so fast that I get started on one thing then an idea pops up for another.
Anything more you want to add about your studio, organization, working methods, etc., please do.
My other passion is my gardens and I have lots of them full of mostly perennial plants that I have collected over the past 28 years. During creative dry spells I can at least take walks through my gardens with my camera, taking photos of the flowers or whatever grabs my attention. My work space has also spread outside this time of year.

Outdoor Paint Studio Tent
A number of years ago, I picked up this 10′ x 20′ tent. It is in front of our trailer to provide a covered work space. When I am doing sunprints, I need to apply the paint and items to print in a shaded area then place the fabric in the sun to dry. Doing the painting part indoors and taking the fabric outdoors is a pain. I once worked under an Easy-Up tent, but that could not stay up if bad weather was near. This set up works pretty well — the tent can stay up all summer, I have tables to work on and more drawer units to hold my paints, brushes, and more. I also have access to flowers in nearby gardens for my sunprints which usually incorporate leaves, flowers and more.
Here is another view of the tent taken from my Front Door garden, which is full of Coneflowers, Phlox and more flowers to look at and play with. I press leaves flat for sunprints, but find that flowers need to be used fresh since they don’t always press well.

Outdoor Paint Studio Tent from Front Door Garden
This shows the outdoor studio in full use during a sunprinting session.

Sunprinting Under Tent
This was taken a few years ago and was the last time I had the tent up. This year is the first time in a few years that I have gotten the tent up. Vinyl-covered plywood on saw horses creates the table I let things dry on in the sun. Larger pieces of fabric can be done directly on the table if I work fast. Fat quarters are done on vinyl covered pieces of quarter-inch plywood that make painting and moving the fabric very easy.
My main studio work space is pretty tiny, but I have spread out almost anywhere in and out of our home. I almost have a new space set up in my back yard for doing hand work. I have always dreamed of spending warm summer days under the shade of the trees, beading my pins or doing other hand embellishing. Here, among the back yard gardens, is where I will be setting up my shady retreat.

Back Yard Gardens
The area between the trees (where there is a hay bale in the photo) is where I now have space almost readied for a small table and a couple of chairs. We have an extension cord run to the trees so I will have electricity. The hay bale is gone — now it covers the gardens as mulch to control weeds.
If anyone is interested in checking out some of my flower photos and other photos of the gardens, Sue Andrus Wall Photos on Facebook are set so that anyone can see them — even if you haven’t signed up as a friend of mine. There are photos of mostly flowers this time of year with a few kid, grandkid, fur kid photos. When I get back to quilting more, I post photos of that, too.
I hope you enjoyed this tour of my studio spaces.
Thank you, Sue, for a delightful tour. To see Sue’s work visit http://www.andrusgardensquilts.com/blog/
Next month: Suzanna Bond


