Since we had no volunteers for the May Studio Tour, I decided to write about a couple of storage/organization ideas.
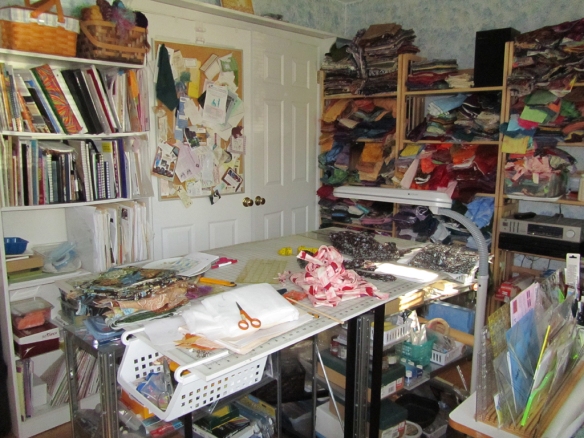
My first post in this series, a view of my own studio, showed my foldable cutting table with open metal shelves under it storing paints, brushes, colored pencils, and many other odds and ends that I might use for surface design.
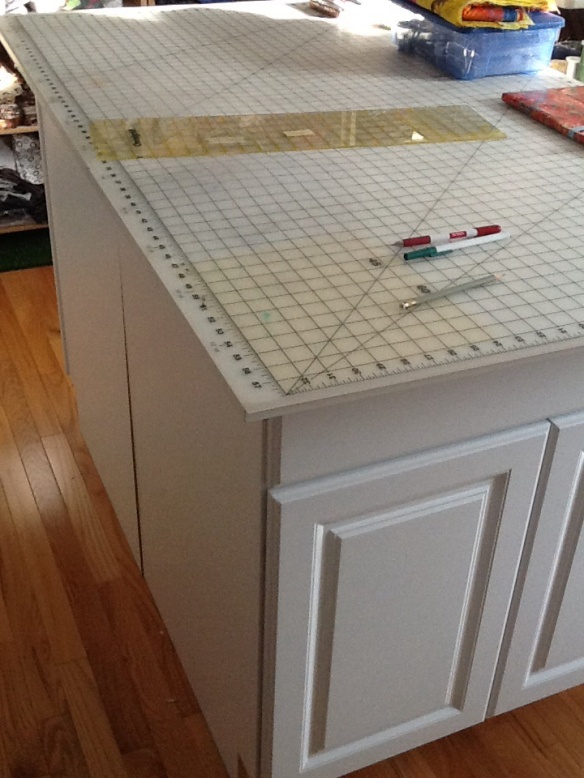
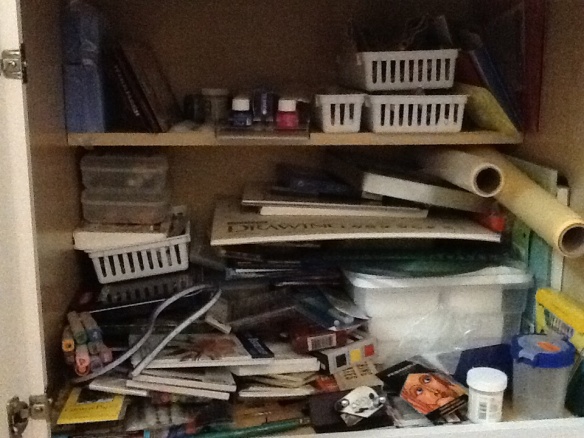
Unfortunately things got extremely dusty and everything always looked cluttered. After much dithering about what to do, I bought two base cabinets from Home Depot and placed them back to back. I removed the top from the folding table and placed it on top of the cabinets. There is some overhang on both ends, but not enough to interfere with using the cabinet drawers. If I had not already had the table top to use, a sheet of plywood cut to fit my large cutting mat would also have worked.
This does not mean, however, that the insides of the cabinets are particularly neat. At least the clutter doesn’t show on the outside.
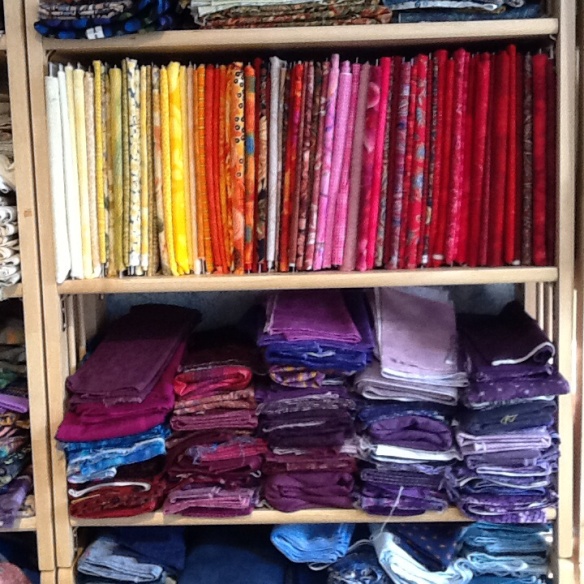
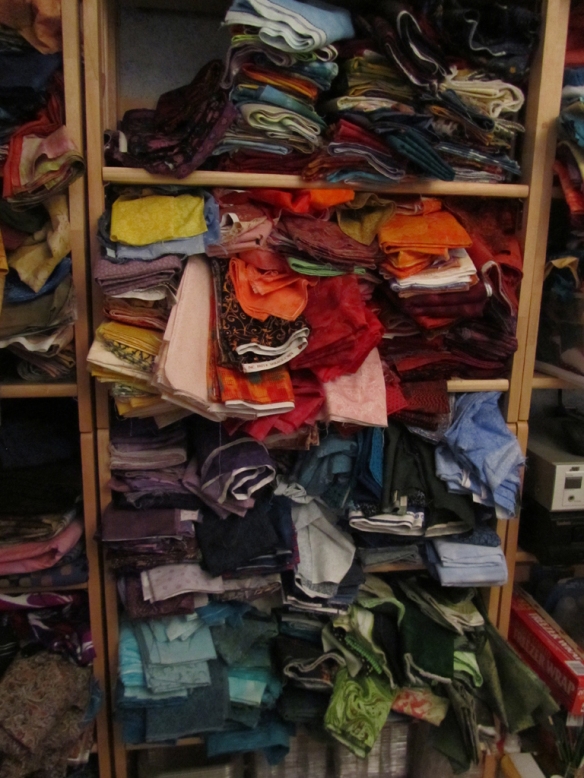
 A fellow Guild member has become enthusiastic about her new system for fabric storage. She is using Magazine Boards to wrap her fabric and store it vertically as we would see it a fabric store. Since my own method is less than neat, and results in pieces being “lost” in the stacks, I thought I should at least give it a try.
 Interestingly, when I went to order the boards online, most of the reviews were from quilters who use them to organize their stashes.
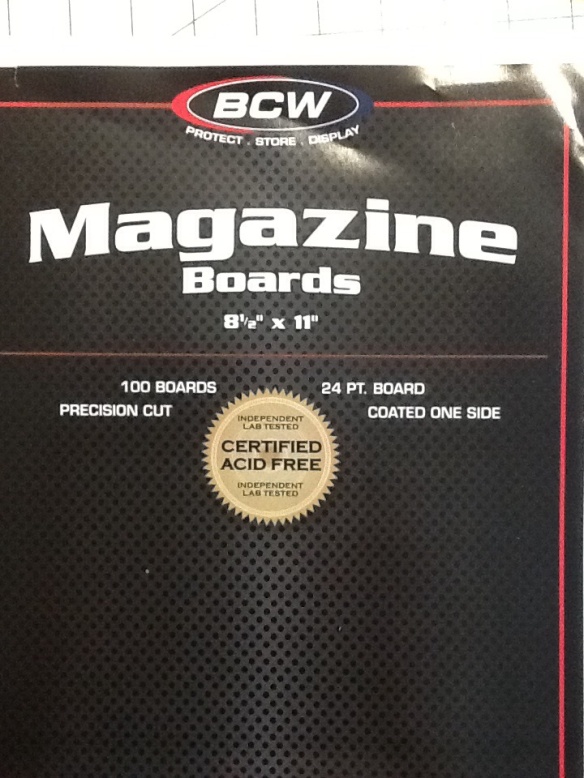
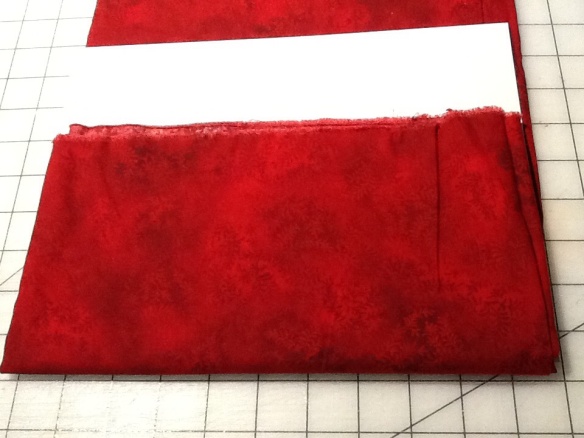
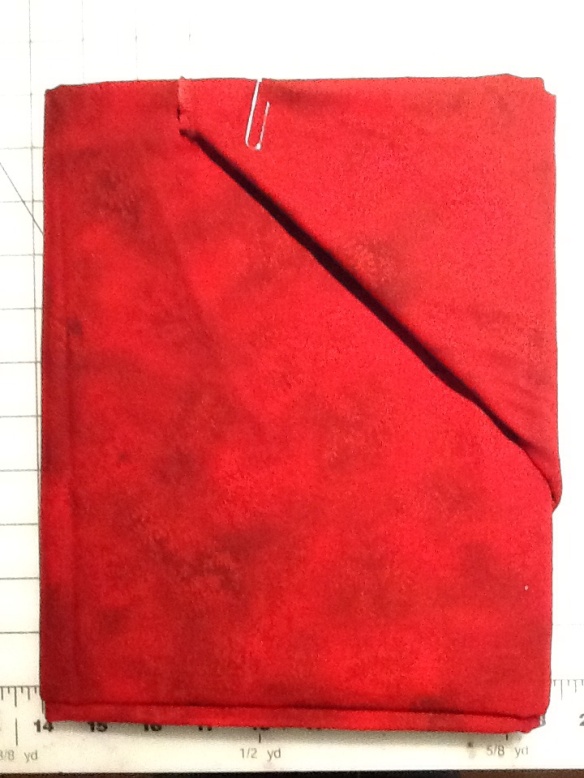
The boards are 8.5 x 11, so we start by folding the fabric in half, selvedge to selvedge, then in half again, folded edge to selvedge. (This method would be ideal for anyone who does not pre-wash fabric, since the first fold done as the fabric is put on the bolt.) At this point you have a length about 11 inches wide, just right to wrap around the board.
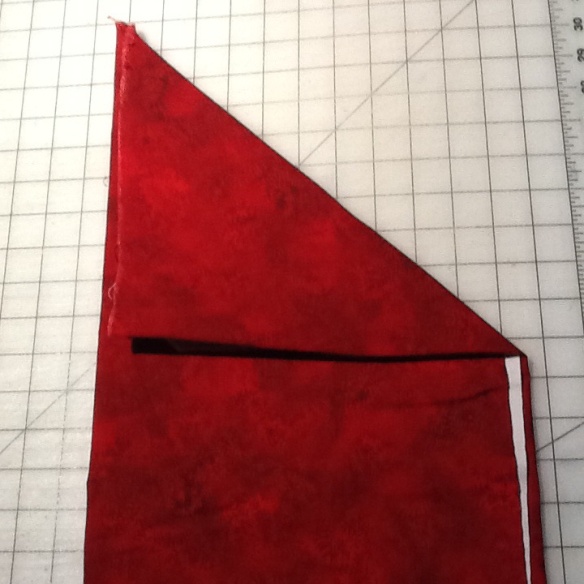
Wrap until you get to the and fold into a point.
Finish the wrap and fasten. My friend uses quilt binding clips (the one that look like hair clips), but I used paper clips because I have what seems to be a lifetime supply.
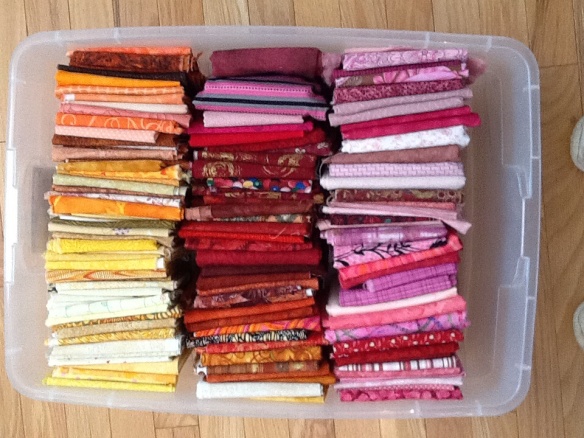
My friend cuts the boards in half lengthwise to wrap lengths of fabric smaller than half a yard, and cuts most pieces under a fat quarter into squares of various sizes for the scrap quilts she likes to make. As I worked on this, I realized that my one shelf of stacked fabrics was going to become at least two shelves of wrapped pieces. I decided to fold anything smaller than half a yard and put it into a flat tub.
The advantages of this method are obvious from the photos. The wrapped and folded fabrics are easy to see, nothing will disappear on the bottom of a stack, and fabrics can be removed and replaced easily without making a mess. The big problem for me is that it takes so much more space than simply stacking the fabric in shelves.
I hope this has given readers a couple of ideas for their own studios.
Next Month: Suzanne Kistler

